Dump Import-Export
You can import and export dump files to MongoDB in two ways:
Note
If you would like to use MongoDB client, you need to have public IP feature enabled in your MongoDB node.
MongoDB Client (Database Master)
Dump Import to MongoDB
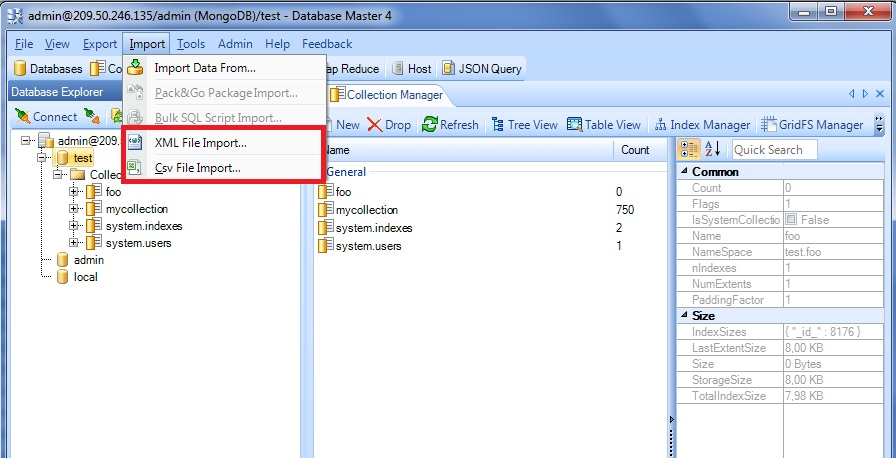
- After remote connection to MongoDB click on Import in the desktop client (we use Database Master 4 as an example) and select the type of file you want to import.
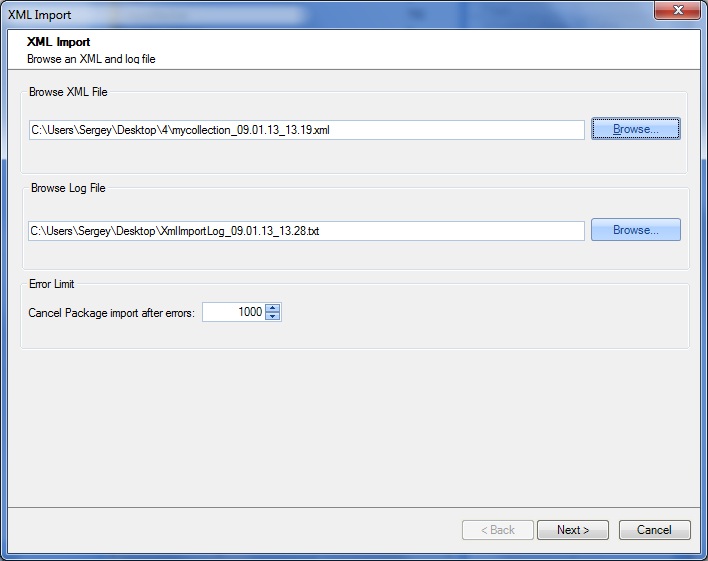
- Browse XML/Csv file, you want to import. Then browse a log file.
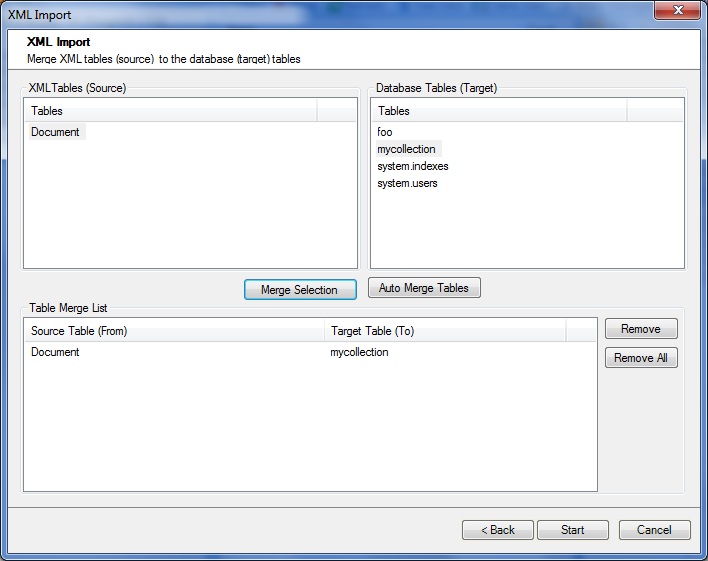
- Merge source tables to the target tables.
- Now you can go back to the platform’s dashboard, open MongoDB in a web browser and find imported dumps in the test directory.
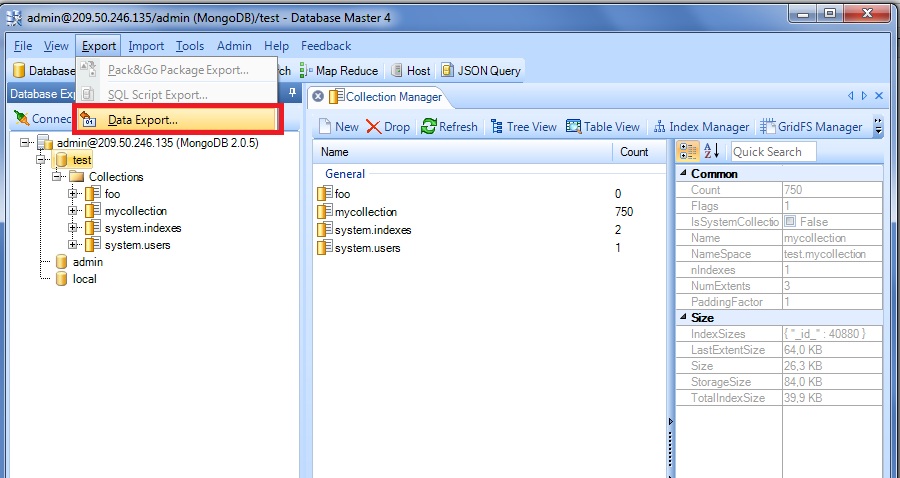
Dump Export from MongoDB
- Click Export > Data Export.
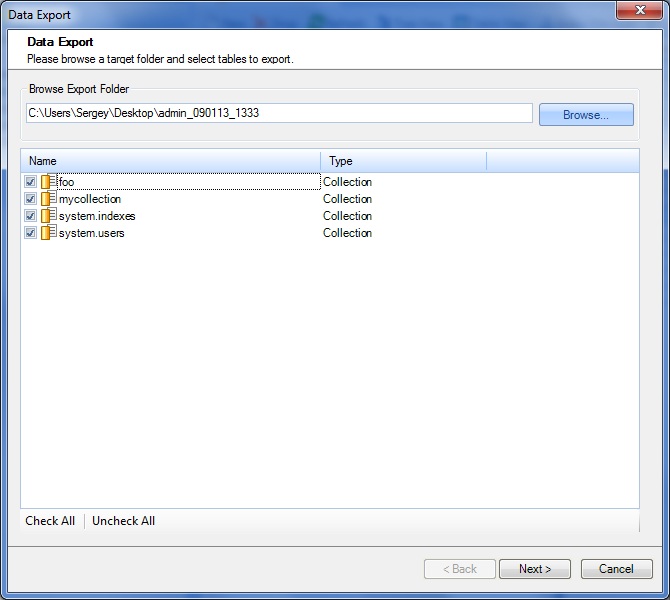
- Browse a target folder and select tables to export.
- Select data export options and click Finish.
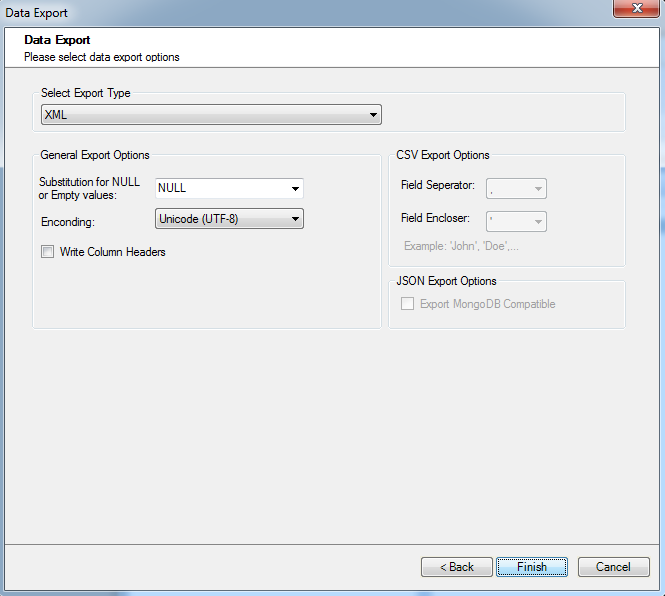
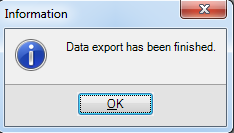
- Data export is successfully finished. You can check your target folder to ensure that everything is ok.
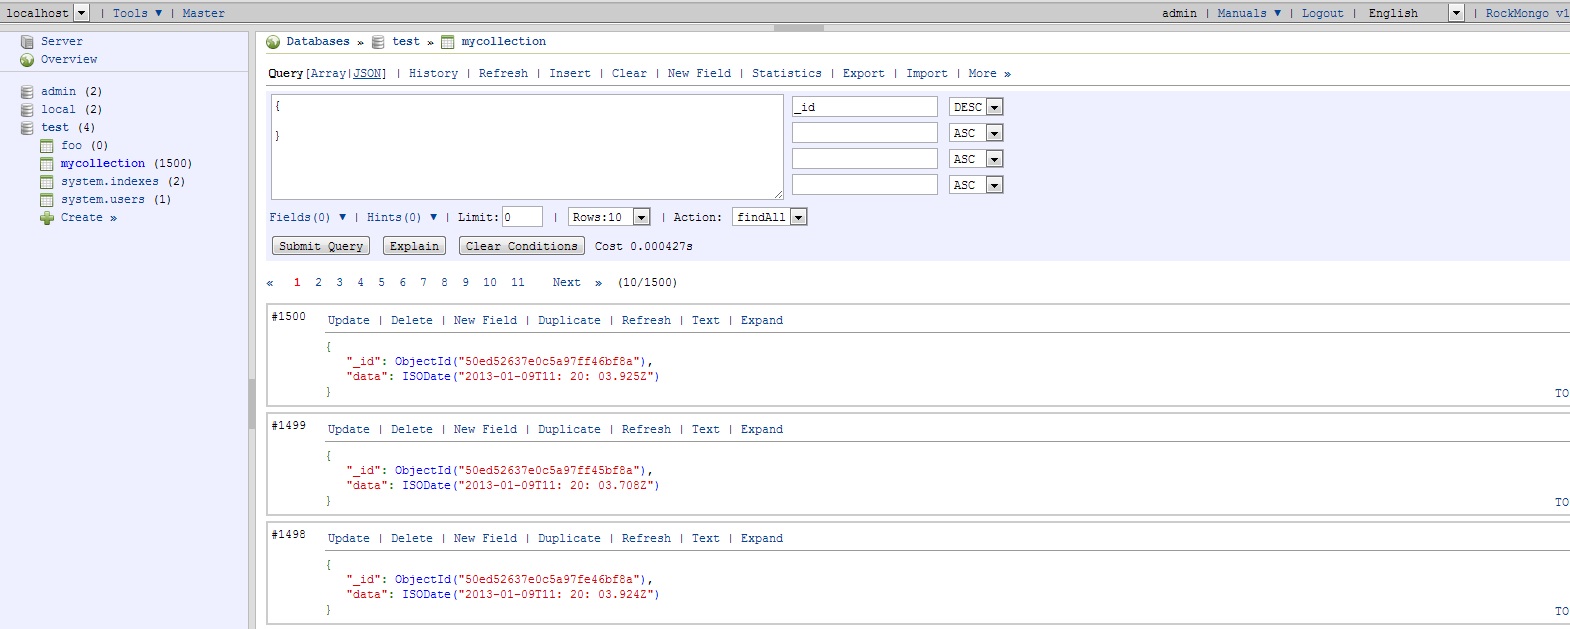
RockMongo Admin Panel
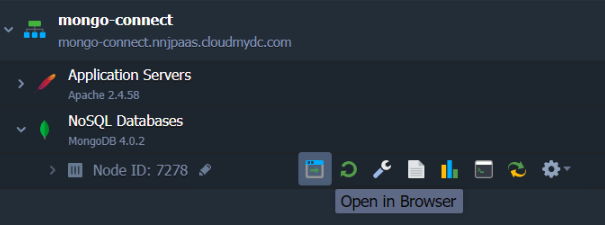
- Click Open in Browser button for MongoDB node in your enviroment:
-
In the opened window you’ll be requested to log in with your credentials, which you’ve received within email after creating MongoDB node.
-
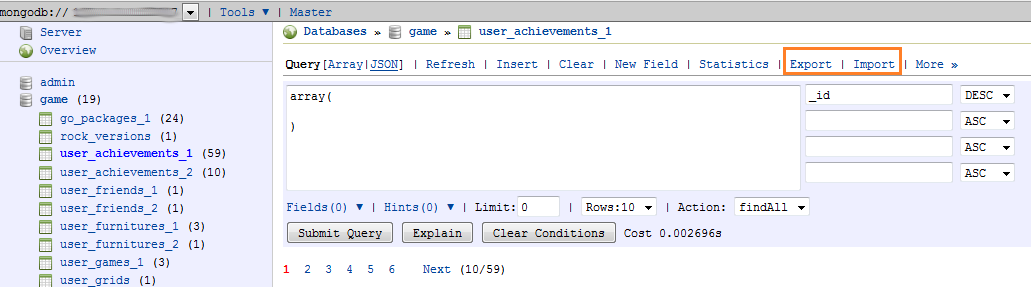
To Export or Import dump files use the corresponding buttons:
Hope this instruction will be useful for you.