Install NetBox PaaS
Ensure your NetBox version is compatible with the NetBox PaaS plugin before proceeding with the installation.
Prerequisites
-
Verify the compatible release for your NetBox version at the Onemind-Services-LLC/netbox-paas.
-
Ensure you have access to the NetBox infrastructure on the PaaS to execute commands inside the containers.
Installation Process
- Locate the Web SSH icon on the NetBox container dashboard for the first node in your environment (for example, node ID: 3848 as shown below). Click on the Web SSH icon to open a terminal window within your web browser.

- In the Web SSH terminal, enter the following commands, replacing
<VERSION>with the compatible version number for your NetBox:
echo "netbox-paas==<VERSION>" >> /etc/netbox/plugin_requirements.txt
echo "netbox_paas: {}" >> /etc/netbox/config/plugins.yaml
This will update the plugin requirements and configuration files, making them accessible to other NetBox containers in the environment.

- Run the following commands on each NetBox container node in your environment.
source /opt/netbox/venv/bin/activate
pip install -r /etc/netbox/plugin_requirements.txt

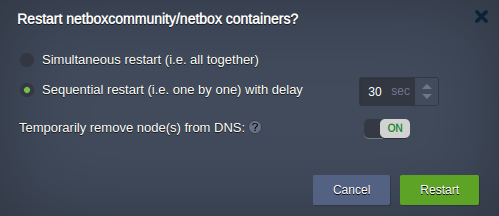
- When you have more than one node in a layer, it is crucial to manage restarts carefully to minimize service disruption:
- Temporary DNS Removal: During the restart process, temporarily remove the nodes from DNS. This step ensures that traffic does not get directed to nodes that are in the process of restarting.
- Configurable Delay: Set a delay between the restarts of individual nodes. This allows you to control the time interval, accommodating your specific operational requirements and reducing the potential for service impact.
The options to remove nodes from DNS and to set a restart delay will only appear if your layer consists of multiple nodes. Single-node layers will restart directly without these additional options.
By following these guidelines, you can maintain service availability even as you perform necessary system updates or maintenance.


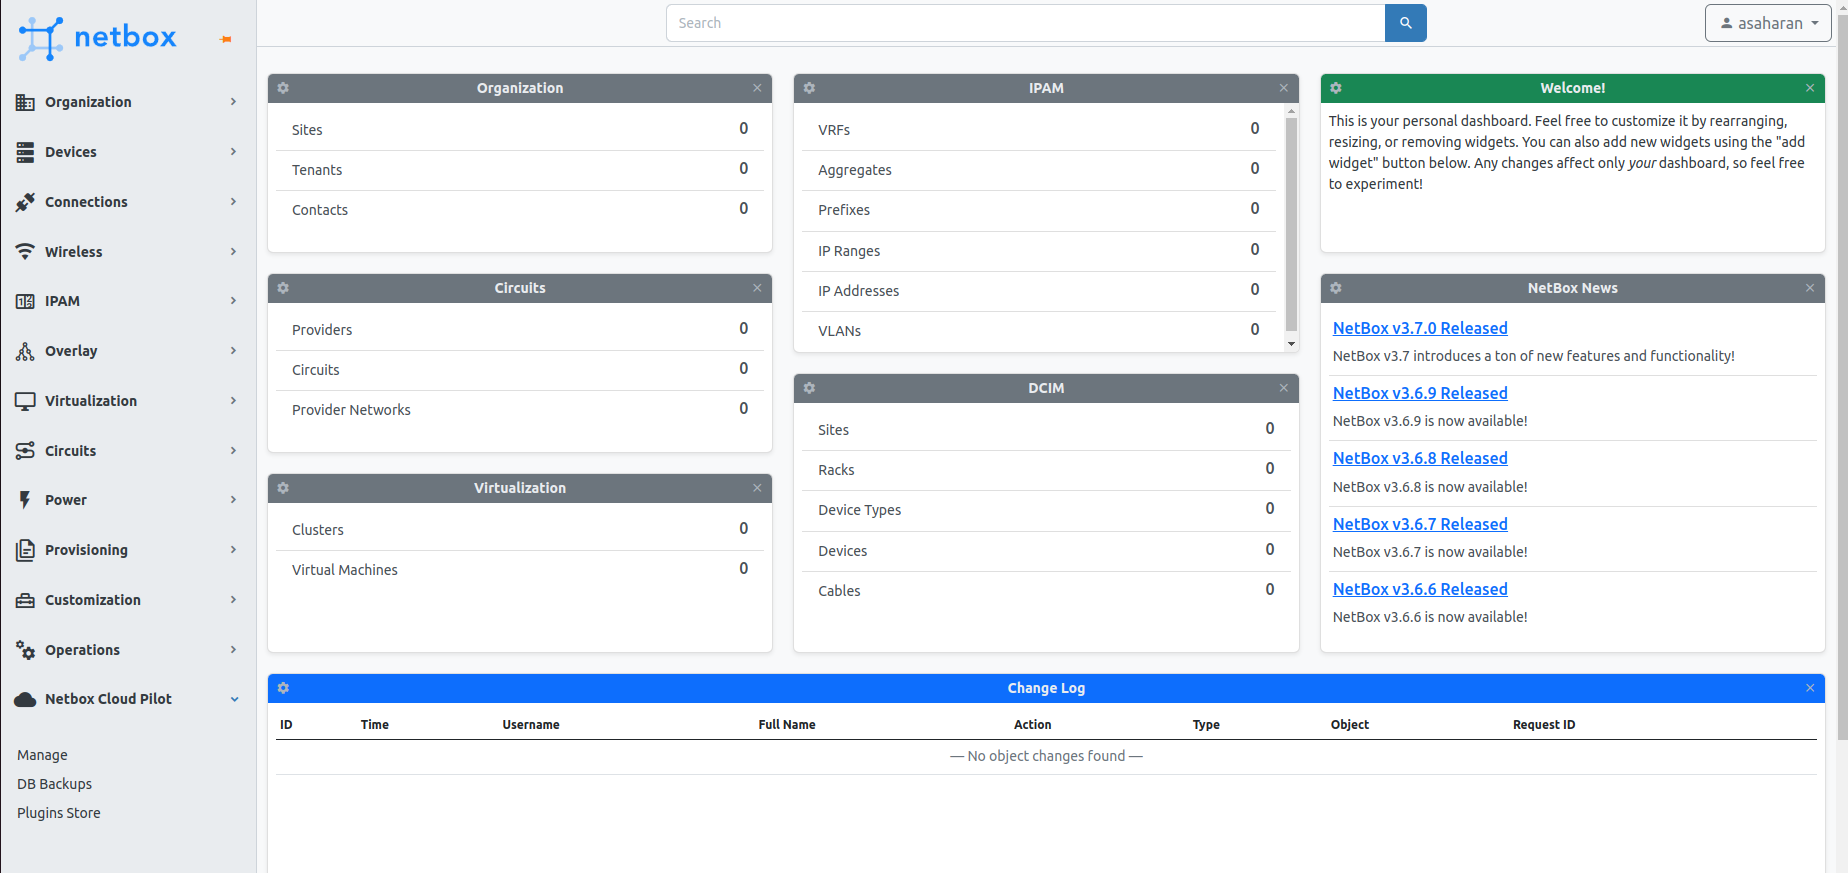
- Once you have logged back into NetBox, you should see the NetBox PaaS section in the bottom left corner of the sidebar, confirming the successful installation of the plugin.

After completing these steps, the NetBox PaaS plugin will be installed and ready for use on your NetBox installation.