Cluster Access
After the successful installation of a cluster, there are multiple ways to access it to start management:
Kubernetes Dashboard
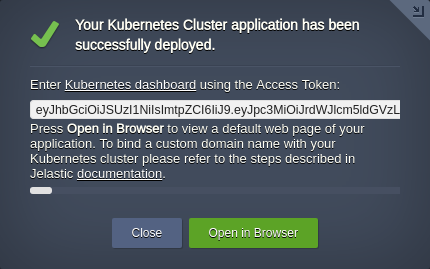
- The after installation pop-up provides all the necessary data to connect to the Kubernetes Dashboard - link and access token.

The same information is also provided via the appropriate email notification.
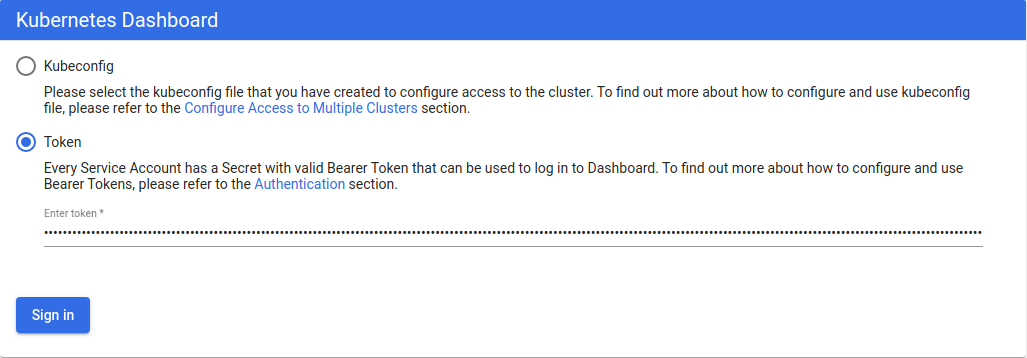
- Follow the link, select the Token option, and paste the required value.

It is also possible to log in with the kubeconfig file; however, you’ll need to install kubectl and set the right context (see the section below).
- If you’ve lost an email with the Kubernetes cluster access token, it can be viewed by executing the following command on the master node (e.g. via Web SSH):
kubectl -n kube-system describe secret $(kubectl -n kube-system get secret | grep fulladmin | awk '{print $1}') | grep 'token:' | sed -e's/token:\| //g'

Now, you can access the Kubernetes Dashboard once again.
Kubectl Client
Kubectl is a command-line tool to control a Kubernetes cluster. The platform automatically installs it on all master nodes during the environment creation. You can start working with your cluster using kubectl right away, just connect to the required node over SSH.
- Follow the installation steps to use a local kubectl. Next, run a command to establish remote connection:
kubectl config set-cluster jelastic --server={api-endpoint} && \
kubectl config set-context jelastic --cluster=jelastic && \
kubectl config set-credentials user --token={token} && \
kubectl config set-context jelastic --user=user && \
kubectl config use-context jelastic
Replace the {api-endpoint} and {token} placeholders with the Remote API URL and access token respectively.
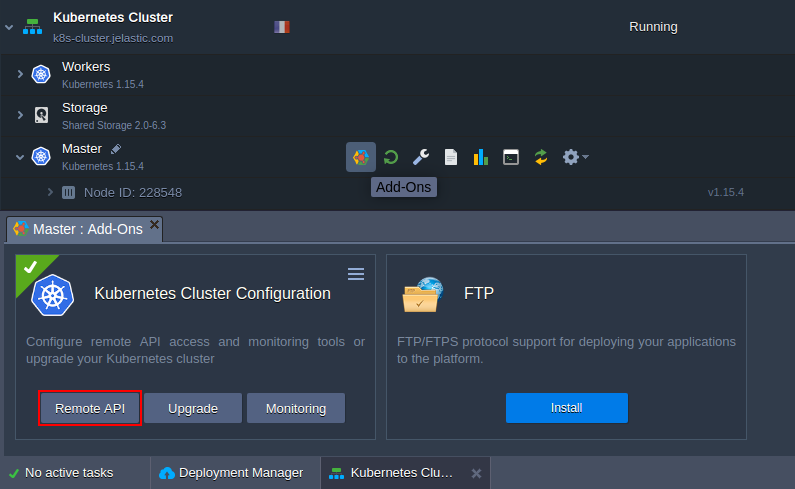
If you haven’t enabled Remote API during installation, it can be done via the in-built add-on available for the master nodes in the platform dashboard.

- You can check if kubectl has access to the cluster with the following command:
kubectl get pods

You should see information about pods in the default namespace.