Application Deploy Via NetBeans
You can create own project in NetBeans IDE and deploy it right into your environment.
Create New Project
- Click the New Project button in the upper tools panel of NetBeans IDE.
- Choose the Java Web category and the Web Application project. Click Next.
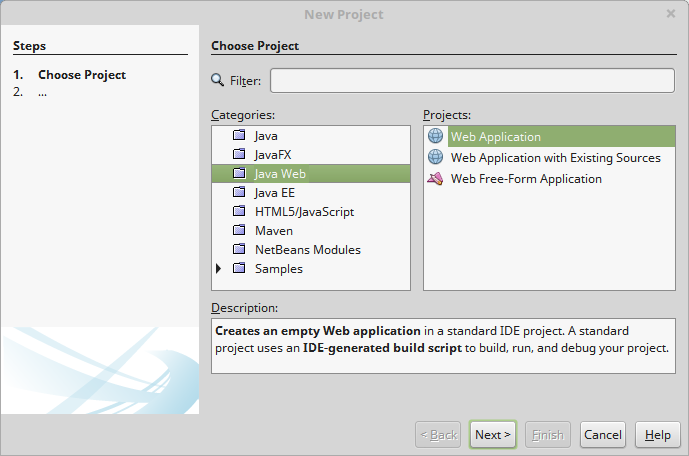
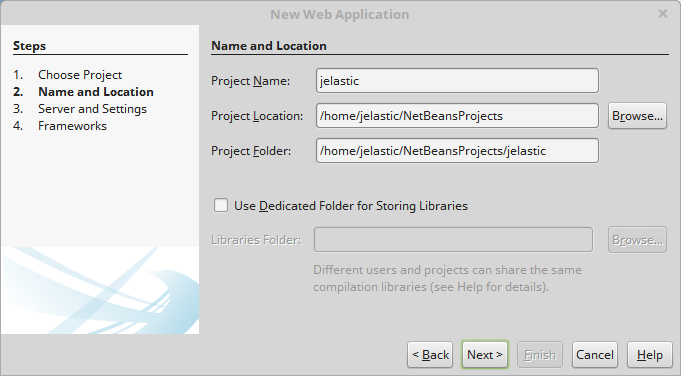
- In the opened window, enter the desired Project Name, specify Project Location and Project Folder. Click Next to proceed.
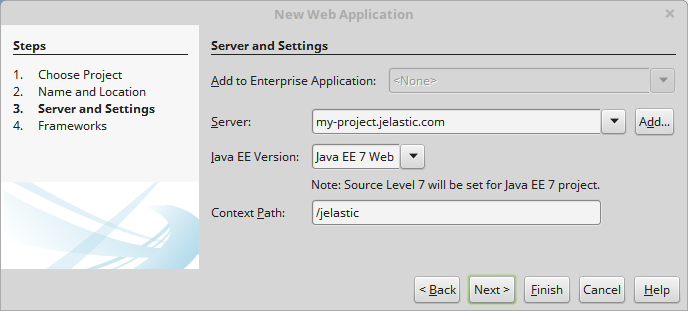
- Select one of your environments in the Server drop-down list. If needed, specify the context and click Next one more time.
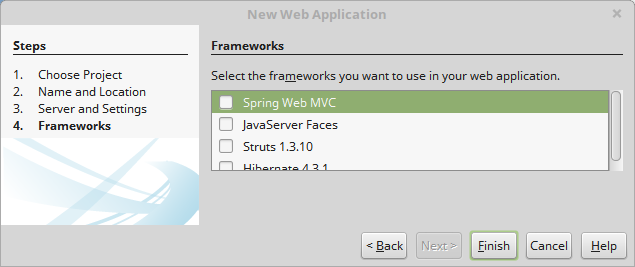
- If you want to use frameworks in your application, tick the required ones and click Finish.
- Your new web project will be created in a moment.

Deploy Project
- Right-click the name of your project and choose the Deploy menu item.
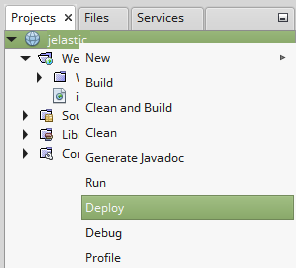
- Next, the .war archive of your project will be built and deployed to the platform.

- To make sure everything works open your application URL in the browser manually or automatically by clicking Open App in browser in the Services tab.
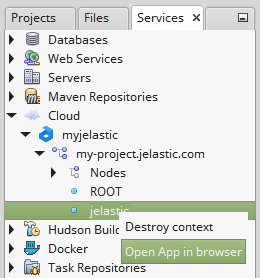
As a result your application will be opened.

With the platform NetBeans IDE plugin installed you can easily manage, develop and deploy your applications without switching between the IDE and the browser.